User Authentication with JWTs (JSON Web Tokens) in Express and Node.js
Traducciones al EspañolEstamos traduciendo nuestros guías y tutoriales al Español. Es posible que usted esté viendo una traducción generada automáticamente. Estamos trabajando con traductores profesionales para verificar las traducciones de nuestro sitio web. Este proyecto es un trabajo en curso.
JSON Web Token (JWT) is a compact and self-contained standard for sending information in JSON format. JWTs are designed with efficiency and security in mind, making them especially useful for managing authentication over the web. In this guide, you learn about the core concepts behind JWTs and how to begin implementing an authentication process with them.
What Are JSON Web Tokens?
JSON Web Token is an open standard ( RCF 7519) for the compact and secure transmission of information via JSON. Compared to the tokens resulting from similar standards, like Security Assertion Markup Language (SAML) tokens, encoded JWTs are small. This makes them easier to work within HTTP transmissions, where they fit well in URLs and HTTP headers. Also, since JWT uses JSON instead of XML, a token’s decoded contents are more readable. Given the prevalence of JSON on the web, JWTs make sense to use for web and mobile applications.
The JWT standard allows you to secure your tokens in two ways. First, JWTs are typically signed using a secure signing algorithm, like HMAC or RSA. This helps to assure the integrity of information and greatly reduces the risk of your tokens being tampered with while in transit. Second, JWTs can be encrypted. Encrypting a JWT helps to prevent unintended recipients from seeing the token’s contents, keeping your information private.
JWT Structure
JWTs have three parts. In the resulting encoded JWT, each part is encoded using the
Base64Url encoding and separated by periods, as in {header}.{payload}.{signature}.
The header—has two parts: an identifier for the signing algorithm (
alg) and an identifier for the token type (typ), which is alwaysJWT. Following is an example of an un-encoded JWT header using the HMAC SHA256 signing algorithm.{ "alg": "HS256", "typ": "JWT" }The payload can come in numerous forms, but is categorized as one of three types:
Registered: uses a predefined claim type, listed in the IANA JSON Web Token specifications.
Public: the claim typed used is defined for the situation, exists in the IANA JSON Web Token Register, or uses a URI that avoids collision with registered claim types.
Private: uses a claim type that is neither registered nor public.
Below is an example of a registered payload using the subject type, which is useful for most authentication situations.
    {
        "sub": "1234567890",
        "username": "example-user",
    }
The signature consists of the encoded header and the encoded payload, separated by a period, and signed with the given algorithm. HMAC SHA256 is used in the header above.
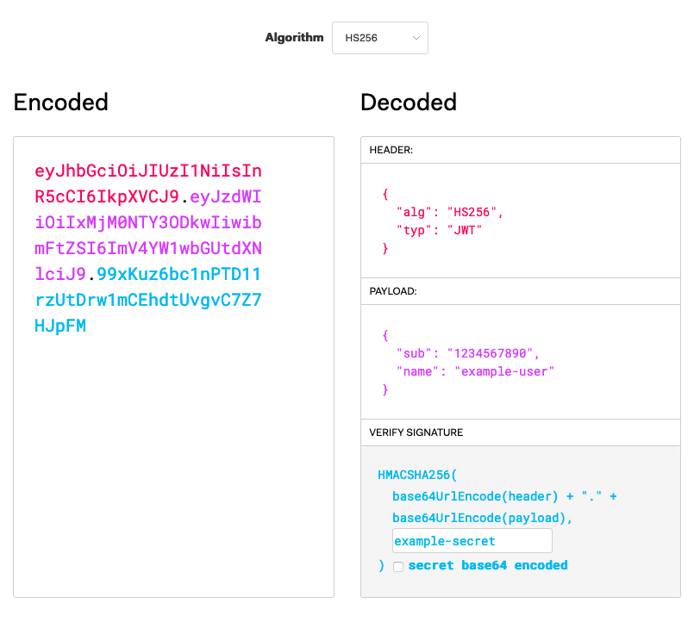
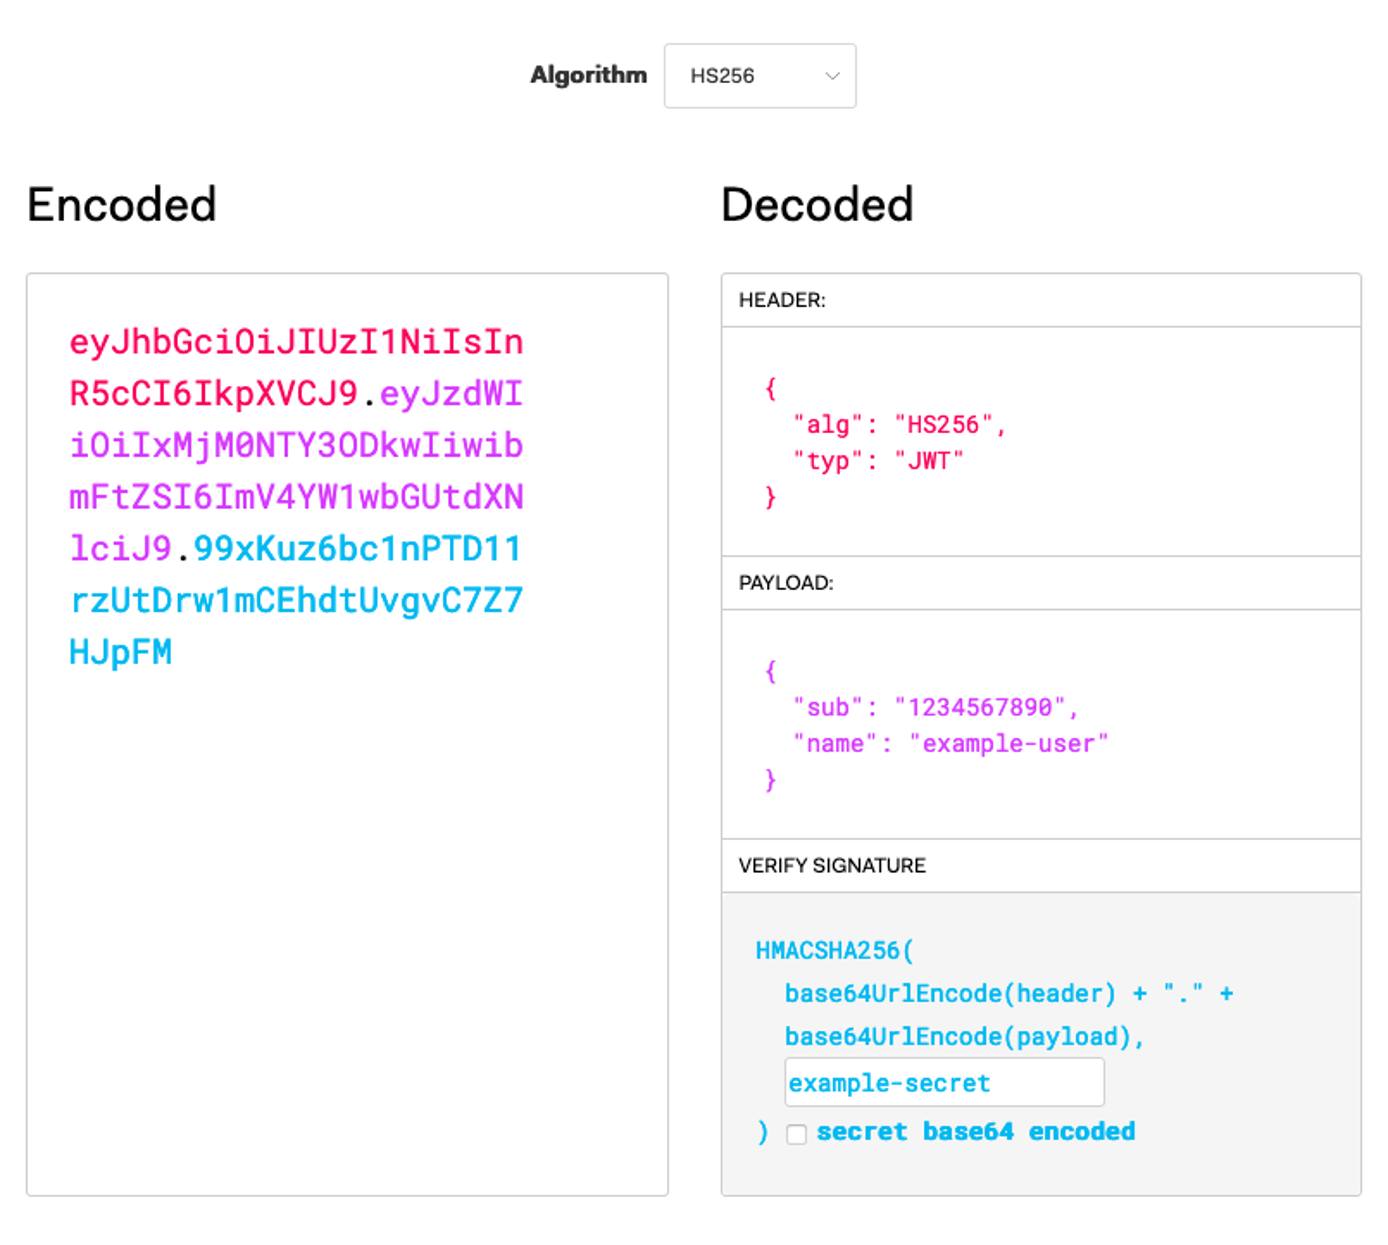
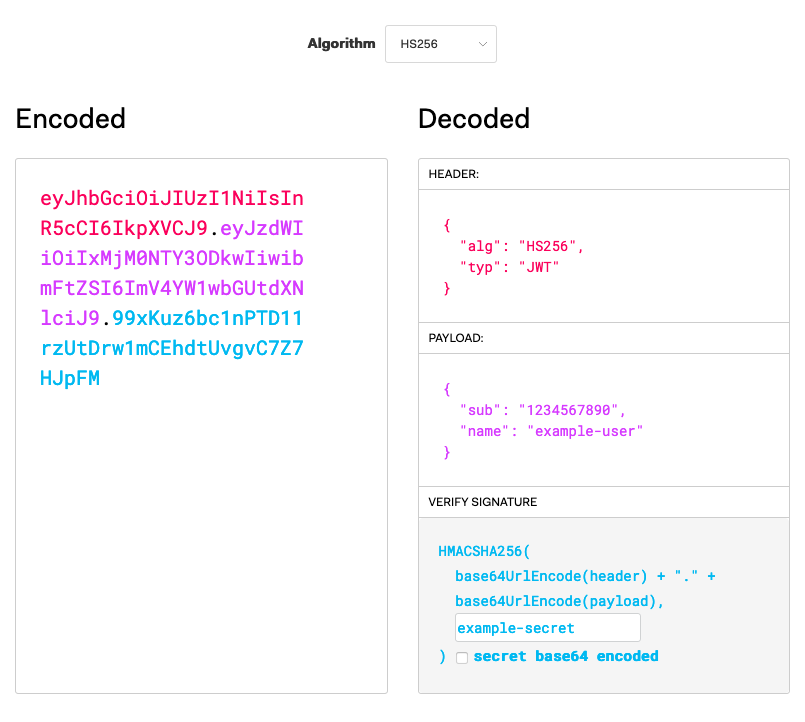
To see this in action, you can use the JWT.IO debugger. This lets you define JWT contents and see the signed and encoded result.


Example JWT Authentication
In this section, you can follow along to implement your own authentication process using JWTs. Many popular programming languages for web development have libraries to make handing JWTs easy. You use Node.js with Express JS in this section’s example. Express gives you tools to get a server up and running quickly. If you want to learn more about Express JS, check out our Express JS Tutorial: Get Started Building a Website guide.
The JWTs encoded in this example provide a lightweight and secure means of authenticating users. However, the in this example JWTs are not encrypted, so they should not be used to transmit sensitive information like passwords.
Before You Begin
If you have not already done so, create a Linode account and Compute Instance. See our Getting Started with Linode and Creating a Compute Instance guides.
Follow our Setting Up and Securing a Compute Instance guide to update your system. You may also wish to set the timezone, configure your hostname, create a limited user account, and harden SSH access.
NoteThe steps in this guide are written for a non-root user. Commands that require elevated privileges are prefixed withsudo. If you’re not familiar with thesudocommand, see the Linux Users and Groups guide.
Install Node.js
Install Node.js.
On Debian and Ubuntu distributions, use the following command:
 curl -fsSL https://deb.nodesource.com/setup_15.x | sudo -E bash -
 sudo apt install nodejs
On CentOS, use the following command:
 curl -fsSL https://rpm.nodesource.com/setup_15.x | sudo -E bash -
 sudo yum install nodejs
Set NPM to use the latest version of Node.js.
sudo npm install npm@latest -g
Set Up the Express JS Server
Create a directory for the project. In this example,
jwt-exampleis used as the project and directory name. The example project lives in the current user’s home directory.mkdir ~/jwt-exampleChange into the project directory. For the remaining steps in this example, the guide assumes you are in
jwt-exampledirectory.cd ~/jwt-exampleCreate the example JavaScript file called
server.js. This contains the skeleton for your Express JS server.Note
In a production scenario, you should not store credentials in application code and your passwords should be encrypted when stored. Additionally, use a secret that conforms to the standards for the signing algorithm you are using. For instance, the HMAC SHA256 algorithm in this example should be given a 256-bit secret. You can achieve this with a random 64-character hex string or a random 44-character Base64 string.- File: server.js
 1
 2
 3
 4
 5
 6
 7
 8
 9
10
11
12
13
14
15
16
17
18
19
20
21
22
23
24
25
26
27
28
29
30
31
32
33
34
35
36
37
38
39
40
// Import the NPM packages to be used. const express = require('express'); const jwt = require('jsonwebtoken'); // Initialize the Express JS application and configure its port number. const app = express(); const port = 3000; // Create a secret to be used for signing the JWTs. const jwtSecret = "example-secret"; // Create an array with user login credentials and information. // Typically, you would store this information in a database, // and the passwords would be stored encrypted. const userCredentials = [ { "username": "userA", "password": "example-password-userA", "userId": 1, "userInfo": "I am userA." }, { "username": "userB", "password": "example-password-userB", "userId": 2, "userInfo": "I am userB." }, { "username": "userC", "password": "example-password-userC", "userId": 3, "userInfo": "I am userC." } ]; // Have the Express JS application begin listening for requests. app.listen(port, () => { console.log(`Server listening at http://localhost:${port}`); })
Initialize the Node.js project.
npm initYou are prompted to enter information related to your project. You can simply press Enter for each prompt to use the default values.
Install Express JS and the JSON Web Token package for your project.
 npm install express --save
 npm install jsonwebtoken --save
Encode with JWT
The server needs to have an endpoint to accept user credentials and provide a JWT in its response. The resulting JWT can then be passed back to the server to authenticate subsequent requests.
Add the following to the server.js file.
- File: server.js
 1
 2
 3
 4
 5
 6
 7
 8
 9
10
11
12
13
14
15
16
17
18
19
20
21
22
23
24
25
26
27
// [...] // Add an endpoint for incoming authentication requests. app.get('/auth', (req, res) => { res.send(fetchUserToken(req)); }); // Check request credentials, and create a JWT if there is a match. const fetchUserToken = (req) => { for (i=0; i<userCredentials.length; i++) { if (userCredentials[i].username == req.query.username && userCredentials[i].password == req.query.password) { return jwt.sign( { "sub": userCredentials[i].userId, "username": req.query.username }, jwtSecret, {expiresIn: 120} ); } } return "Error: No matching user credentials found."; } // [...]
Decode with JWT
The server now needs to have an endpoint to provide user information upon receiving an appropriate JWT. In this case, the user’s ID has been included in the JWT, so the application can use that to identify the appropriate user’s information to fetch.
Add the following to the server.js file:
- File: server.js
 1
 2
 3
 4
 5
 6
 7
 8
 9
10
11
12
13
14
15
16
17
18
19
20
21
22
23
24
25
26
27
// [...] // Add an endpoint for user information requests. The endpoint first // verifies the JWT. If it is valid, it makes the call to fetch the // user's information. app.get('/userInfo', (req, res) => { jwt.verify(req.query.token, jwtSecret, (err, decodedToken) => { if (err) { res.send(err); } else { res.send(fetchUserInfo(decodedToken.sub)); } }); }); // Fetch the user information matching the user ID in the request. const fetchUserInfo = (userId) => { for (i=0; i<userCredentials.length; i++) { if (userCredentials[i].userId == userId) { return userCredentials[i].userInfo; } } return "Error: Unable to fulfill the request."; } // [...]
In Action
Now, the example application is ready. You can view the entirety of the resulting JavaScript file.
Follow the steps below to see the JWT process in action.
Start up the Express JS server.
node server.jsExpress serves the application on
localhost:3000. To visit the application remotely, you can use an SSH tunnel.On Windows, you can use the PuTTY tool to set up your SSH tunnel. Follow the appropriate section of the Using SSH on Windows guide, replacing the example port number there with
3000.On OS X or Linux, use the following command to set up the SSH tunnel. Replace
example-userwith your username on the application server and192.0.2.0with the server’s IP address.ssh -L3000:localhost:3000 example-user@192.0.2.0
To start, fetch a JWT for userA by navigating to the URL listed below and copying the output.
localhost:3000/auth?username=userA&password=example-password-userABased on the expiry time configured in
server.js, that token should be valid for two minutes after it is generated.Navigate to the following URL to fetch userA’s information. Replace
{header}.{payload}.{signature}with the token you copied.localhost:3000/userInfo?token={header}.{payload}.{signature}You should see the message “I am userA” in your browser.
Conclusion
You are all set to start working with JWTs and taking advantage of them for lean and secure authentication processes. Take a look at the resources below to continue the journey and learn more about JWT concepts.
You may also be interested in our guide on Authenticating Over WebSockets with JSON Web Tokens (JWTs). That guide goes more in-depth and shows you how to use them with WebSockets.
More Information
You may wish to consult the following resources for additional information on this topic. While these are provided in the hope that they will be useful, please note that we cannot vouch for the accuracy or timeliness of externally hosted materials.
This page was originally published on

